
Encountering an unexpected DRAM (Dynamic Random-Access Memory) light illumination on your motherboard can be a cause for concern. However, with a few straightforward troubleshooting steps, you can likely address the issue independently and without excessive difficulty. This guide aims to provide comprehensive insights into the common reasons behind the activation of the DRAM light on motherboard and offers practical solutions to resolve the problem. By following the outlined steps, you can effectively diagnose and rectify the issue, ensuring optimal performance and stability for your system.
What Does a DRAM Light Mean?
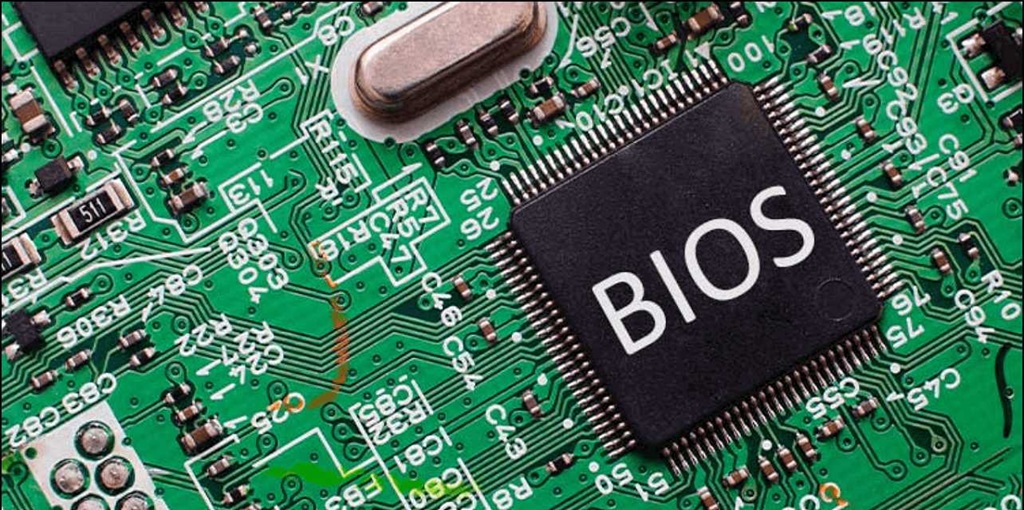
DRAM stands for Dynamic Random Access Memory. This is the main system memory your computer uses to store data while it’s powered on and active. The DRAM light on your motherboard signifies some kind of issue or failure with your RAM modules.
Some common reasons why the DRAM light turns on include:
- Faulty or unseated RAM module
- Incompatible RAM
- Damaged RAM slot or motherboard traces
- Motherboard power or BIOS settings issue
The light stays on because your motherboard is detecting a problem communicating properly with the installed RAM.
Troubleshooting Steps for a DRAM Light on Motherboard
If you see your motherboard’s DRAM indicator light up, try these basic troubleshooting steps:
1. Reseat the RAM
Opening up your PC case and removing and reinserting the RAM modules can often resolve a DRAM light if the issue was caused by poor contact.
When reseating RAM sticks, be sure to fully press them into the slot until the retention clips click. Wipe the gold contacts on the module and slot with a microfiber cloth before reinserting as well.
2. Try RAM Modules Individually
To troubleshoot potential RAM issues, if your computer has multiple RAM modules installed, you can follow these steps:
- Remove all RAM Modules: Start by powering off your computer and removing all RAM modules from their respective DIMM slots.
- Individual Testing: Attempt to boot your computer with only one stick of RAM at a time. Place the single RAM module in the primary DIMM slot on your motherboard.
- Isolation of Faulty Module: By testing each RAM module individually, you can identify whether a specific module is causing the issue. This step helps isolate the faulty module if there is one.
- Sequential Testing: Repeat the process by swapping through each RAM stick, testing them one at a time in the primary DIMM slot. This sequential testing allows you to check the functionality of each module.
By following these steps, you can determine if a particular RAM module is defective and potentially causing the booting issue. If the computer boots successfully with one module but not with another, it suggests that the problematic module may need to be replaced or further diagnosed for issues.
3. Reset BIOS Settings to Default
Incorrect or unstable BIOS memory settings can sometimes cause a DRAM error light. Resetting your motherboard’s BIOS to factory default settings clears out any bad overclocking or timing configurations that may be triggering the problem.
Refer to your motherboard manual for how to reset CMOS and clear the BIOS. Usually this involves shorting two pins on the board for a few seconds with the PC power removed.
4. Update BIOS, Chipset, and UEFI Drivers
Outdated firmware and drivers can also be a factor with DRAM issues. Check for BIOS, chipset, and UEFI updates from your motherboard manufacturer and install the latest versions.
This can improve compatibility and stability with your specific RAM kit.
5. Test the RAM in Another System
If you have another desktop PC or laptop, try inserting the RAM into that system to see if the modules work properly or not. This confirms whether the modules themselves have failed or if the issue lies with your motherboard instead.
6. Try Alternate RAM Modules
If you have spare compatible RAM modules or can borrow some from another system, swap those into your PC instead to rule out a problem with your existing memory kit.
Incompatible or faulty RAM sticks are often the root cause of a persisting DRAM light.
DRAM Light But PC Boots Successfully
Sometimes your PC might successfully boot into Windows or Linux even with the DRAM indicator LED lit up. This can happen intermittently when you have an unstable RAM overclock or if the modules are not fully compatible with your motherboard.
Even if your system seems stable, it’s a good idea to back down RAM speeds to default 2133MHz or so and see if the light disappears. The DRAM error suggests you have memory instability issues that can lead to random crashes or data corruption down the line.
Faulty Motherboard Slot or Traces
In rare cases, if you’ve tested the RAM in another system and tried alternate sticks in your own motherboard but the DRAM light stubbornly remains on, the issue may be a damaged DIMM slot or faulty memory circuit traces on the board itself.
This would require a motherboard replacement or professional repair to correct. Damage is uncommon but can happen over time, especially with frequent RAM installation and swapping stressing the slots.
When to Take It to Repair
If you’ve tried all the basic troubleshooting steps above but the DRAM light persists, then it’s time to seek help from a repair shop. A computer technician can isolate whether the problem lies with your memory modules or motherboard using specialized diagnostic tools and replacement parts.
Just explain the issue that started with the DRAM light turning on unexpectedly and detail all the fixes you attempted on your own so far. The tech can take over from there pinpointing and resolving the fault.
While a DRAM light may seem ominous, in most cases the cause ends up being something simple like a stuck memory module or firmware needing an update. With some easy DIY troubleshooting, you can likely get your PC back up and running again swiftly.
Conclusion
Debugging memory issues signified by a DRAM indicator light may seem daunting at first. But using proven troubleshooting techniques, you can methodically isolate the fault whether it lies with the RAM modules themselves or the motherboard.
Reseating and testing RAM sticks one by one is a great first step. From there, resetting BIOS settings, updating firmware, and trying alternate memory modules can all help track down the underlying problem. Getting the DRAM light resolved quickly will prevent future crashes, freezes, or erratic system behavior.
With some simple diligent testing, you can resolve annoying motherboard DRAM light problems yourself. But if all standard fixes fail, then it’s time to seek assistance from a qualified repair technician.
Frequently Asked Questions
What does DRAM mean?
DRAM stands for Dynamic Random Access Memory. This is the type of volatile memory your computer uses for active programs and data while powered on.
Why did my DRAM light turn on suddenly?
The most common causes are a loose RAM module, an incompatible new memory stick installed, or unstable BIOS memory settings like overclocking.
Can I use my PC with the DRAM light on?
The system may boot and run stably but DRAM errors suggest memory issues that can cause crashes, freezes, or data corruption. It’s best to troubleshoot and resolve the light warning.
My PC boots fine but the light stays on, what should I do?
Even if the system seems stable, persistent DRAM errors indicate memory problems. Try resetting RAM speeds to default and updating firmware and drivers. Failing modules can work but become unreliable.
What if different RAM doesn’t fix the DRAM light?
If alternate memory doesn’t help, the issue may be a damaged motherboard slot or memory circuit traces. This would require professional repair or motherboard replacement.