Ever walked into a room and noticed those annoying little paint chips on the wall? They can make even the most well-kept space look a bit shabby. Imagine being able to fix those chips quickly and easily, restoring your walls to their former glory. Sounds like a dream, right? Well, it’s totally doable! Let’s dive into the step-by-step process of how to fix paint chips on wall and make them look as good as new.
Why Do Paint Chips Happen?
Before we get into the fix, let’s talk about why paint chips happen in the first place. Understanding the cause can help you prevent future chips. Paint can chip due to a variety of reasons:
- Physical Impact: Bumping furniture or other objects against the wall.
- Moisture: High humidity or water leaks can weaken the paint.
- Poor Surface Preparation: Not cleaning or priming the wall properly before painting.
- Aging Paint: Over time, paint can lose its adhesion and start to peel.
Tools and Materials You’ll Need
To fix paint chips, you’ll need a few basic tools and materials:
- Putty knife
- Sandpaper (medium and fine grit)
- Spackle or drywall compound
- Primer
- Paint that matches your wall color
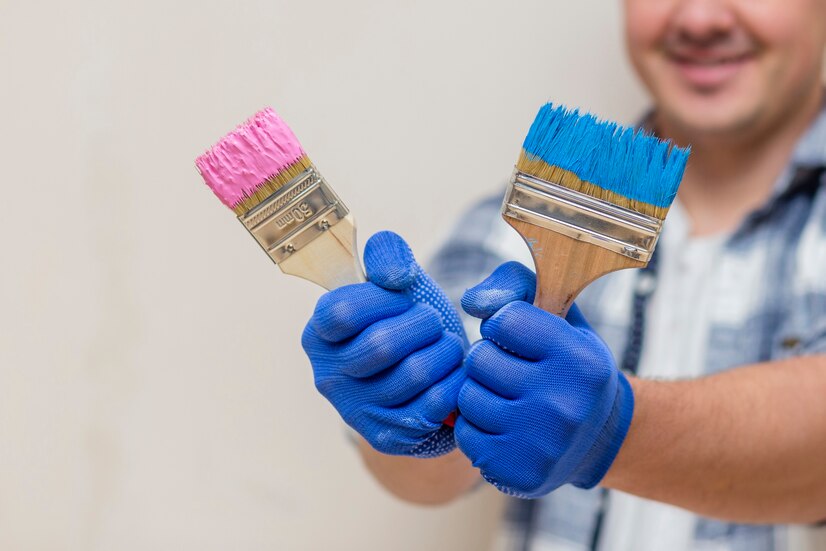
- Paintbrush or roller
- Drop cloth or plastic sheeting
- Painter’s tape
Step-by-Step Guide to Fix Paint Chips on Wall
Step 1: Prepare the Area
Start by preparing the area around the paint chip. Move any furniture out of the way and cover the floor with a drop cloth or plastic sheeting to catch any debris. Use painter’s tape to protect any trim or adjacent walls.
Step 2: Remove Loose Paint
Use a putty knife to gently scrape away any loose or flaking paint around the chip. Be careful not to gouge the wall. The goal is to remove any paint that isn’t firmly adhered to the wall.
Step 3: Sand the Area
Once you’ve removed the loose paint, use medium-grit sandpaper to smooth the edges of the chip. This will help the spackle adhere better and create a seamless repair. After sanding, wipe away any dust with a damp cloth.
Step 4: Apply Spackle
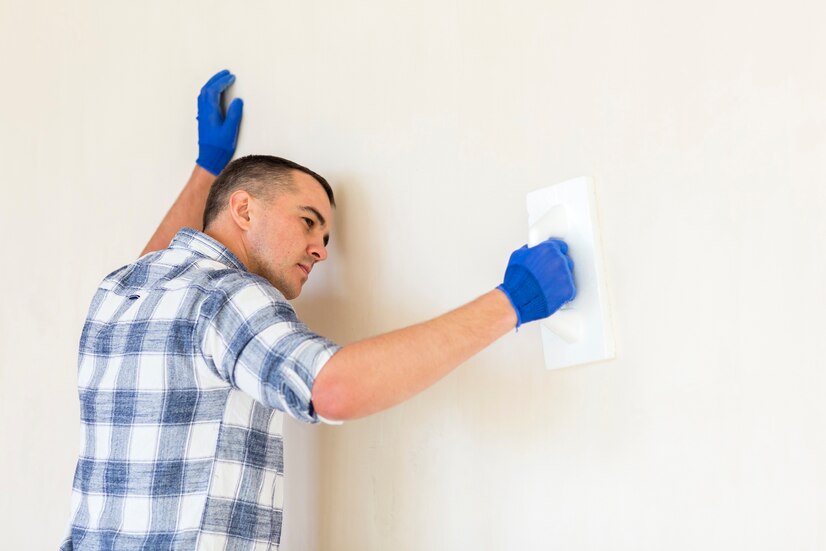
Using a putty knife, apply a small amount of spackle or drywall compound to the chipped area. Spread it evenly, making sure to fill the chip completely. Smooth the spackle with the putty knife, removing any excess. Let it dry according to the manufacturer’s instructions.
Step 5: Sand the Spackle
After the spackle has dried, use fine-grit sandpaper to smooth the patched area. The goal is to make the spackle level with the surrounding wall. Wipe away any dust with a damp cloth.
Step 6: Prime the Area
Apply a coat of primer to the patched area. This will help the paint adhere better and ensure a uniform finish. Let the primer dry completely before moving on to the next step.
Step 7: Paint the Patch
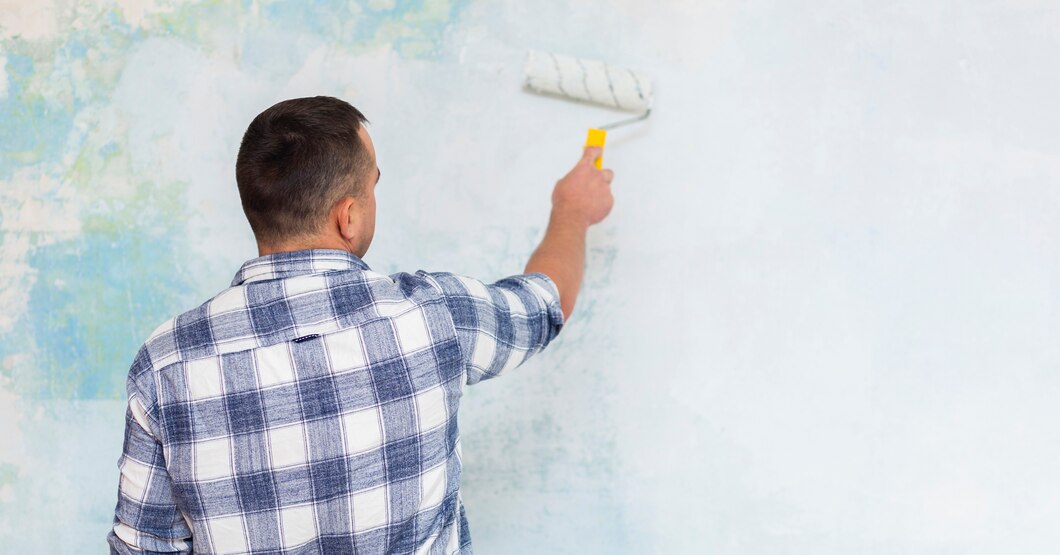
Once the primer is dry, it’s time to paint. Use a paintbrush or roller to apply a thin coat of paint that matches your wall color. Feather the edges to blend the new paint with the old. Let the paint dry, then apply a second coat if necessary.
Step 8: Clean Up
After the paint has dried, remove the painter’s tape and drop cloth. Move your furniture back into place, and admire your handiwork. Your wall should look as good as new!
Tips for Preventing Future Paint Chips
- Use High-Quality Paint: Invest in good-quality paint that adheres well and lasts longer.
- Proper Surface Preparation: Always clean and prime your walls before painting.
- Avoid Moisture: Fix any leaks and control humidity levels in your home.
- Be Gentle: Try to avoid bumping furniture or other objects against the walls.
Conclusion
Fixing paint chips on your walls doesn’t have to be a daunting task. With the right tools and a little bit of patience, you can make your walls look flawless again. Remember, the key to a good repair is proper preparation and taking your time to do it right. So next time you notice a paint chip, don’t stress—just follow these steps and enjoy the satisfaction of a job well done.


