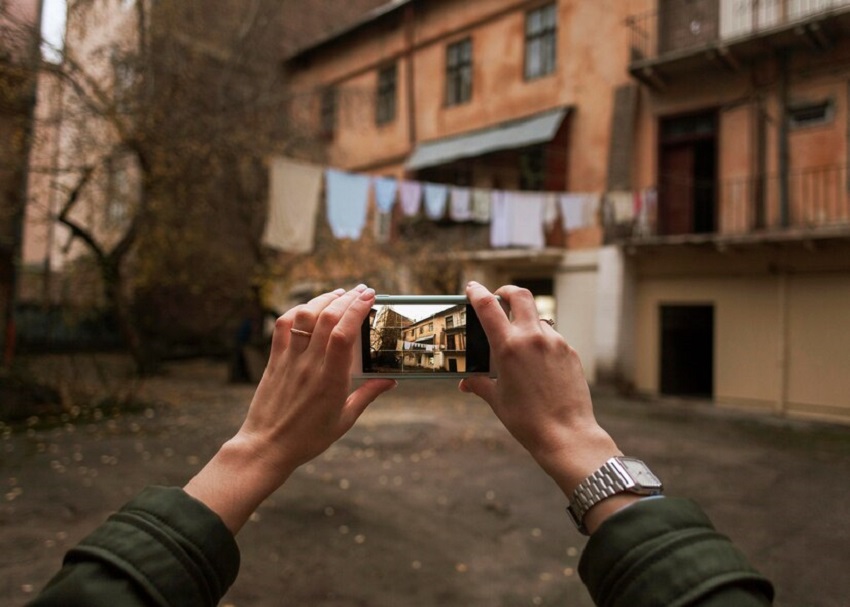
Are you a real estate agent or someone looking to sell or rent out a property? Potential buyers or renters will often have the first impression of your property through the photos you share. High-quality, visually appealing images can significantly attract interest and increase the chances of a successful sale or rental. In this article, we will guide you on how to take real estate photos with iphone, which most people already have in their pockets. So, grab your iPhone, follow these tips and techniques, and capture the true essence of your property!
In today’s digital age, where people search for properties online, captivating images are crucial in attracting potential buyers or renters. With the advancement of smartphone technology, you no longer need expensive professional camera equipment to capture high-quality photos. With its impressive camera capabilities, the iPhone can be your perfect tool for real estate photography. Let’s dive into the steps to take exceptional real estate photos with your iPhone.
How to Take Real Estate Photos With iPhone?
Before taking photos, ensure the property is clean and well-organized. Remove any clutter or personal items that might distract viewers. Make the beds tidy up countertops, and declutter the rooms. A clean and organized space allows potential buyers or renters to focus on the property’s features and envisions themselves living there.
Utilize Natural Light
Natural light can greatly enhance the appearance of your real estate photos. Open windows and let in as much natural light as possible whenever possible. Avoid using the iPhone’s built-in flash, as it can create harsh lighting and unnatural shadows. Position yourself strategically to take advantage of each room’s best natural light sources.
Use HDR Mode
The High Dynamic Range (HDR) mode on your iPhone can help capture a wider range of details and tones in your photos, particularly in challenging lighting situations. HDR combines multiple exposures to create a well-balanced image. Enable HDR mode in your iPhone camera settings and let it automatically capture stunning real estate photos with enhanced dynamic range.
Adjust Exposure and Focus
To ensure your photos are properly exposed, tap on the area you want to focus on and slide your finger up or down to adjust the exposure. This feature allows you to control the brightness and darkness of your images, ensuring that important details are well-exposed. Experiment with different exposures to find the right balance for each shot.
Composition Matters
A well-composed photo can make a significant impact. Consider the rule of thirds, dividing the frame into a 3×3 grid and placing key elements along the grid lines or at their intersections. This technique creates a visually pleasing composition, drawing attention to the property’s most important features.
Capture Wide-Angle Shots
Wide-angle shots are essential for capturing the spaciousness and layout of a property. If your iPhone has a wide-angle lens, use it to showcase larger areas such as living rooms or kitchens. To capture a wide-angle shot, position yourself in the corner of the room and angle the camera to include as much space as possible. Avoid distortion and tilting the camera too much to maintain a natural perspective.
Showcase Unique Features
Every property has unique features that set it apart from others. Whether it’s a beautiful fireplace, a stunning view, or intricate architectural details, highlight these special elements in your photos. Zoom in or get close to capturing the details and showcase what makes the property truly exceptional.
Highlight the Exterior
Don’t forget to capture the exterior of the property. Curb appeal plays a significant role in attracting potential buyers or renters. Take photos of the front facade, landscaping, outdoor amenities, and any other unique features. Consider the time of day when shooting the exterior; early morning or late afternoon light can add warmth and depth to your photos.
Consider Twilight Shots
Twilight shots can create a magical and inviting atmosphere. Take advantage of the “golden hour,” which occurs just before sunrise or after sunset, to capture breathtaking twilight shots. The soft, warm light during this time can add a touch of elegance and allure to your real estate photos.
Use the Right Apps and Editing Tools
There are several photography apps and editing tools available that can further enhance your real estate photos. Experiment with apps like Camera+ or ProCamera to have more control over exposure, focus, and other settings. Editing tools like Adobe Lightroom or Snapseed can help you fine-tune your photos’ colors, contrast, and overall look.
Edit with Care
Aim for a natural and realistic look when editing your real estate photos. Avoid excessive editing that can make the images appear overly processed or artificial. Adjust the white balance, enhance the colors, and make minor adjustments to improve the overall quality. Remember, the goal is to showcase the property accurately while making it visually appealing.
Don’t Overprocess
While editing your photos is important, be cautious not to overprocess them. Heavy filters or excessive editing can misrepresent the property and create unrealistic expectations. Potential buyers or renters should get a genuine sense of the property in person.
Test Different Angles
Try shooting from various angles to capture different perspectives of the property. Experiment with low angles to make rooms appear more spacious or high angles to showcase the layout. Play with different heights, viewpoints, and distances to find the most flattering angles for each room and area.
Experiment with Perspectives
To make your real estate photos more engaging, experiment with different perspectives. Instead of always shooting at eye level, try capturing unique angles or incorporating interesting elements in the foreground. Look for reflections or use elements like mirrors, windows, or door frames to add depth and intrigue to your composition.
Conclusion
Taking impressive real estate photos with your iPhone is achievable with the right techniques and tips. Remember to clean and prepare the space, utilize natural light, use HDR mode, adjust exposure and focus, and pay attention to composition. Capture wide-angle shots, highlight unique features, and showcase the exterior and twilight shots for added appeal. Utilize the right apps and editing tools to enhance your photos while maintaining a natural look. Experiment with different angles and perspectives to create captivating images that leave a lasting impression on potential buyers or renters. By following these guidelines, you’ll be well on your way to capturing stunning real estate photos with your iPhone.


